Quick Start: How to Integrate ChatGPT into WeChat Official Account
Demonstration
Basic Q&A
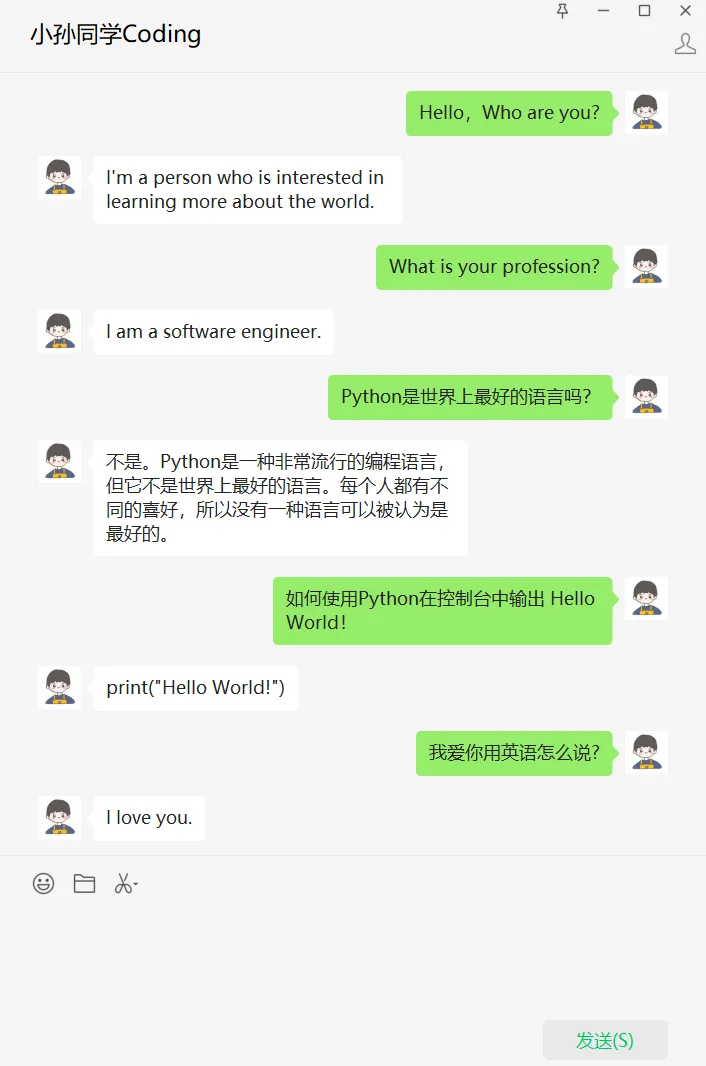
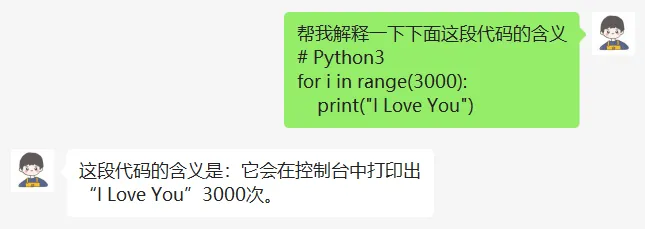
Code Interpretation
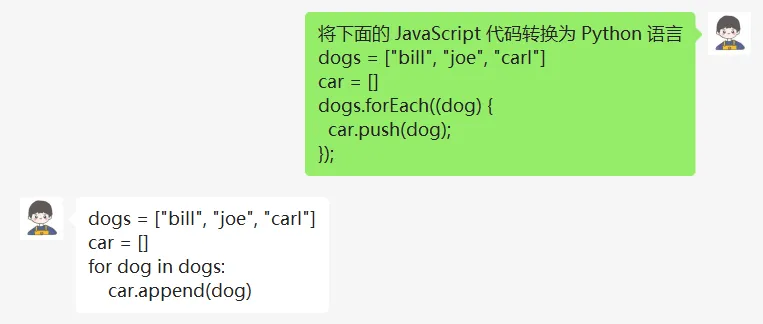
Code Conversion
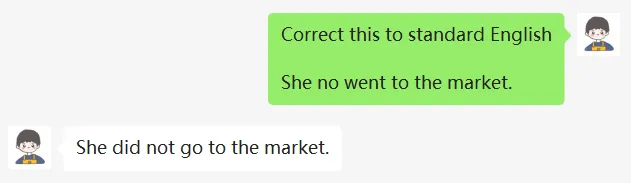
Error Correction
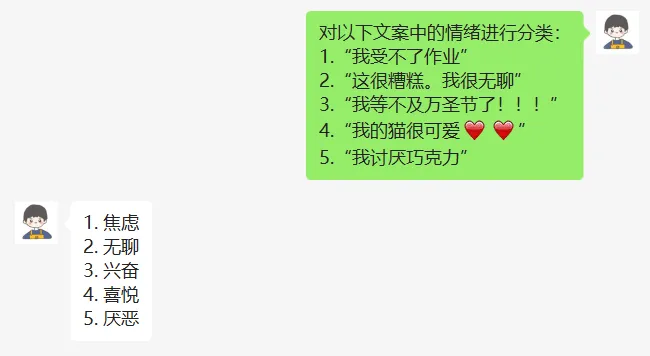
Sentiment Analysis
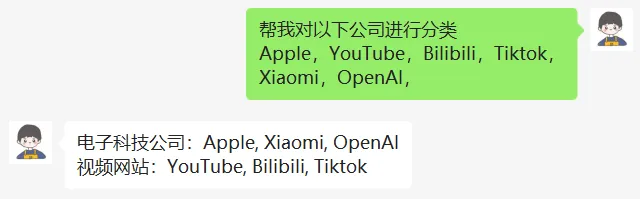
Project Classification
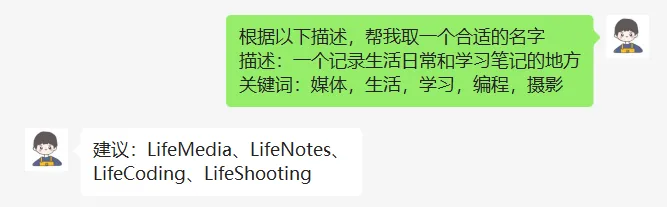
Name Generator
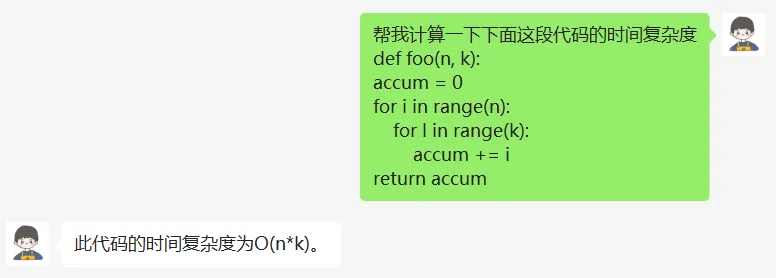
Time Complexity Calculation
Friendly Reminder
This tutorial assumes you already have the following resources:
- A WeChat Official Account
- An OpenAI account
- A server that can access the internet
- A domain name (preferably, but not necessary)
You should ideally have the following skills:
- Basic Python programming
- Some web development and server maintenance experience
OpenAI API
In this section, you will learn how to use Python to call the OpenAI API.
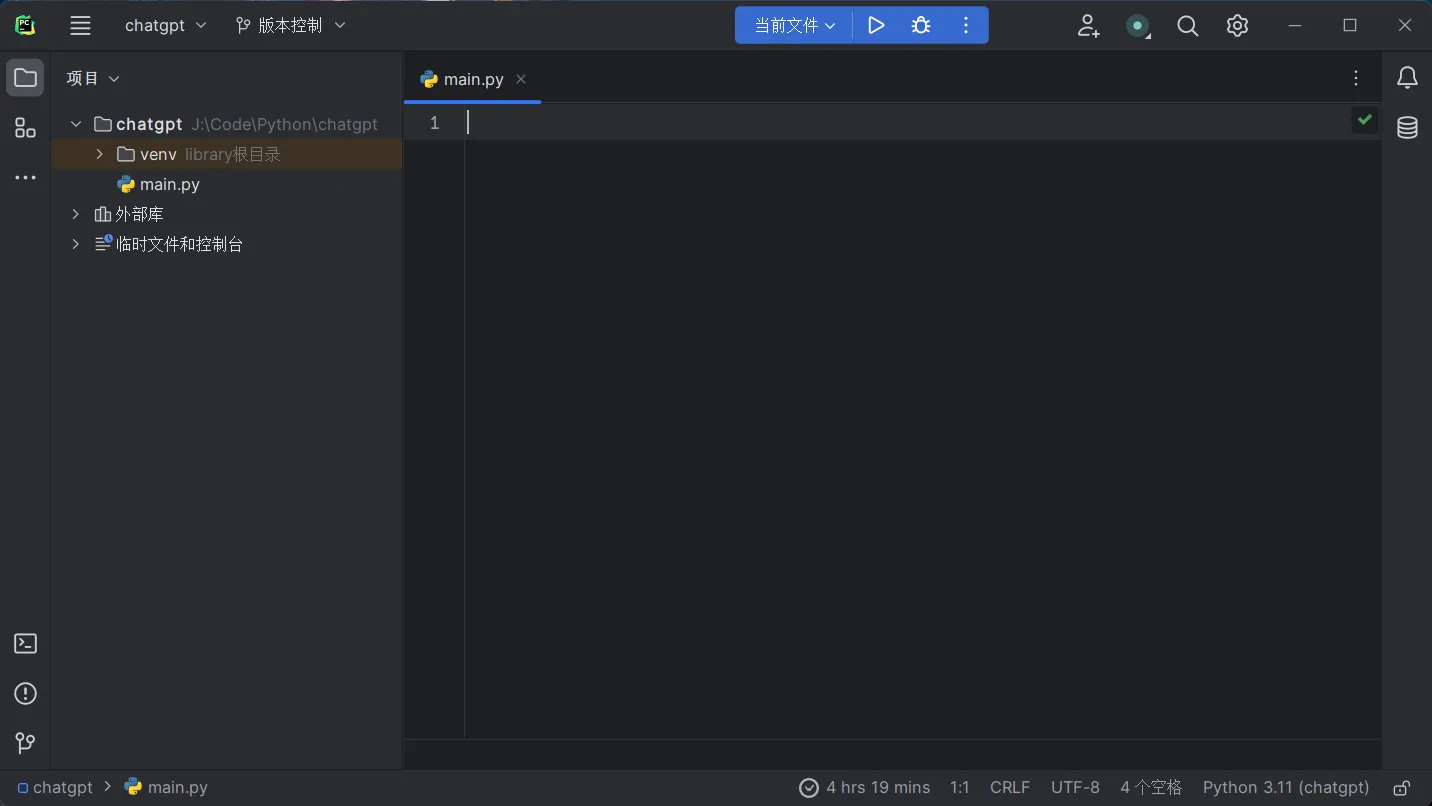
Create a New Python Project
Use PyCharm or another integrated development environment to create a Python project.
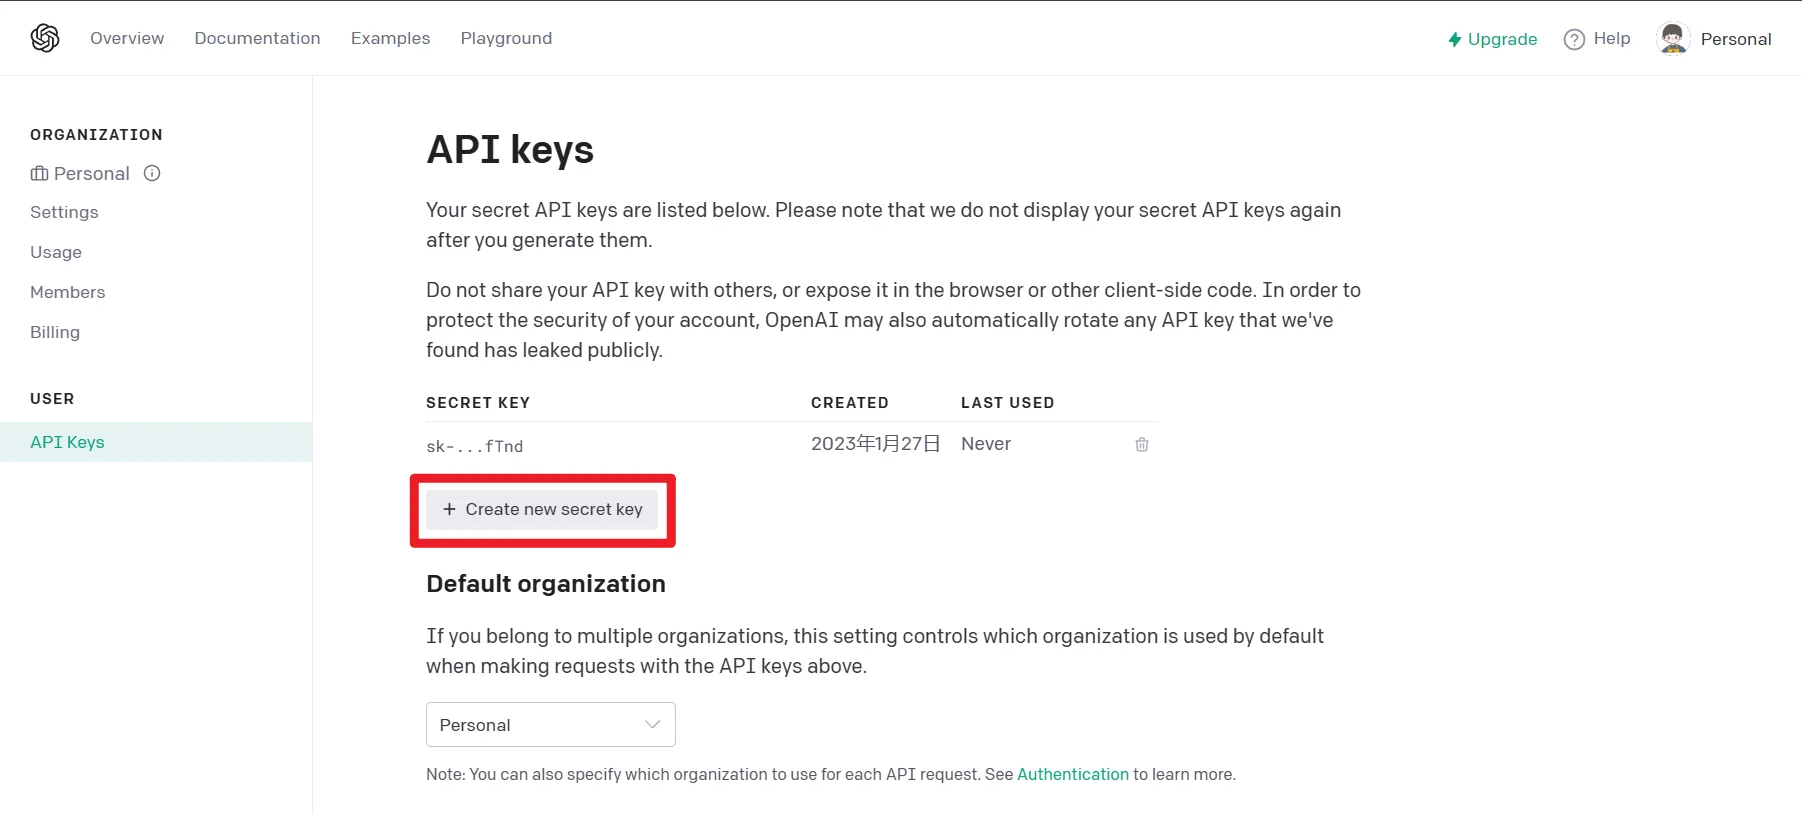
Create a New API Key
Click the link above to create a key and save it for later use.
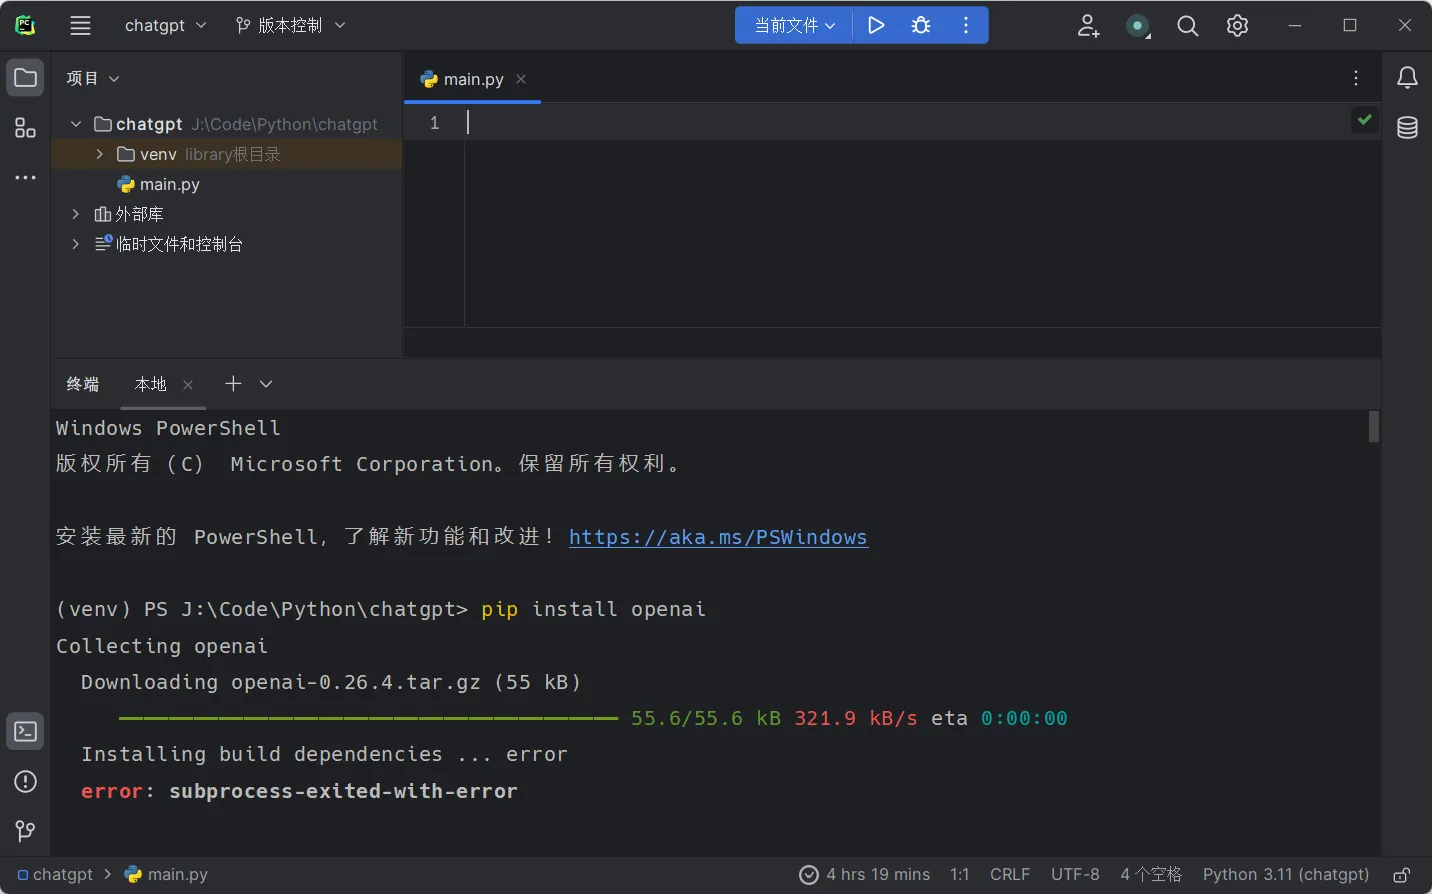
Install the openai Dependency
Open the local terminal in PyCharm and enter the following command to install the openai package.
pip install openaiInstallation Failed
Make sure your computer can access the internet, otherwise the installation may fail.
Installation Successful
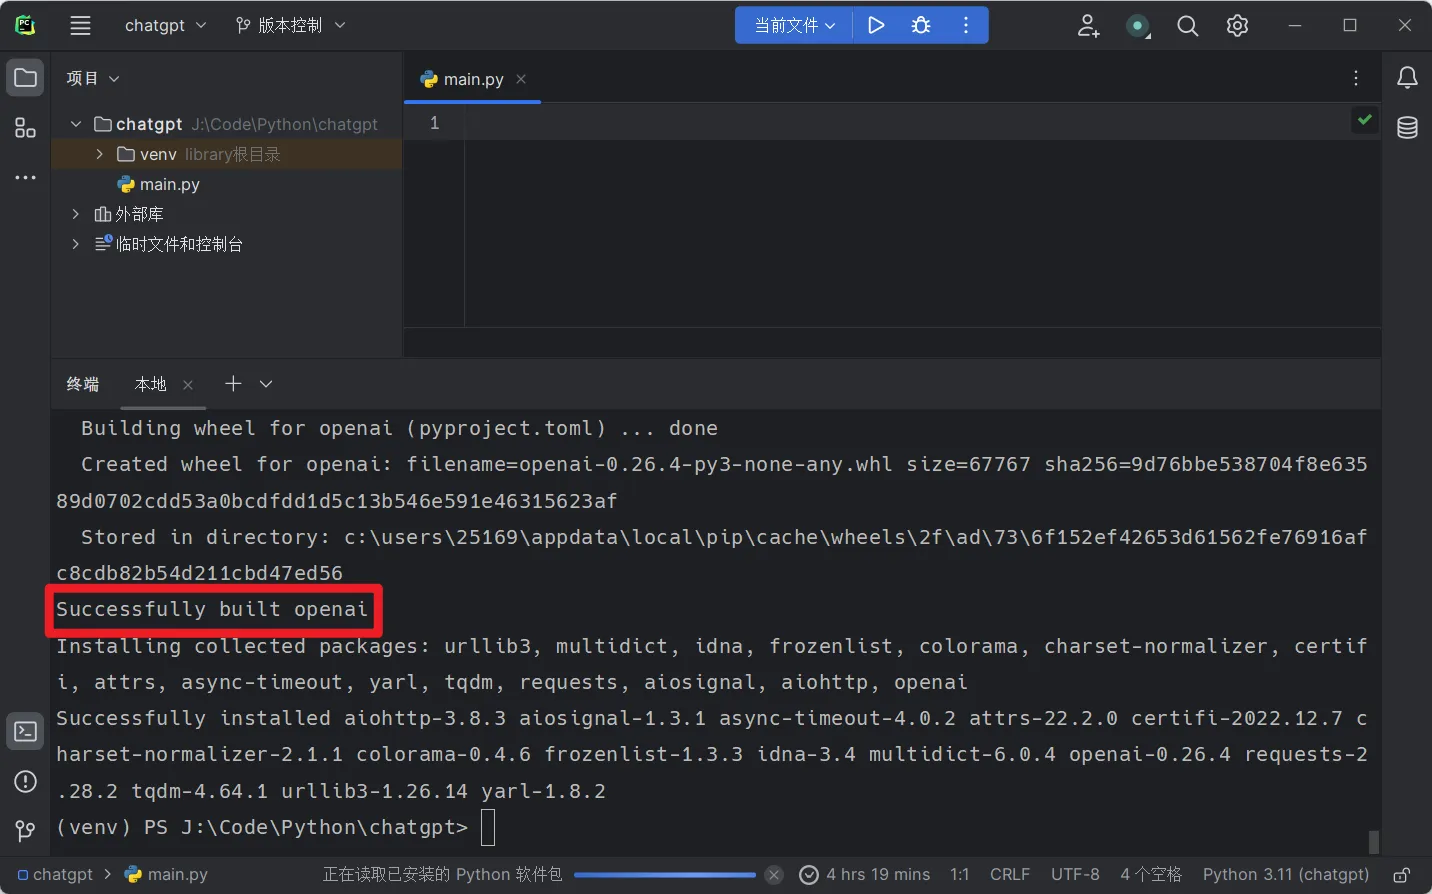
Enter the following command in the terminal to check if the openai package has been successfully installed.
pip listThe terminal output is as follows (example).
aiohttp 3.8.3aiosignal 1.3.1async-timeout 4.0.2attrs 22.2.0certifi 2022.12.7charset-normalizer 2.1.1colorama 0.4.6frozenlist 1.3.3idna 3.4multidict 6.0.4openai 0.26.4pip 22.3.1requests 2.28.2setuptools 65.5.1tqdm 4.64.1urllib3 1.26.14wheel 0.38.4yarl 1.8.2View Example Applications
Open the link above to view the example applications listed on the OpenAI official website. This page contains the main application scenarios of ChatGPT.
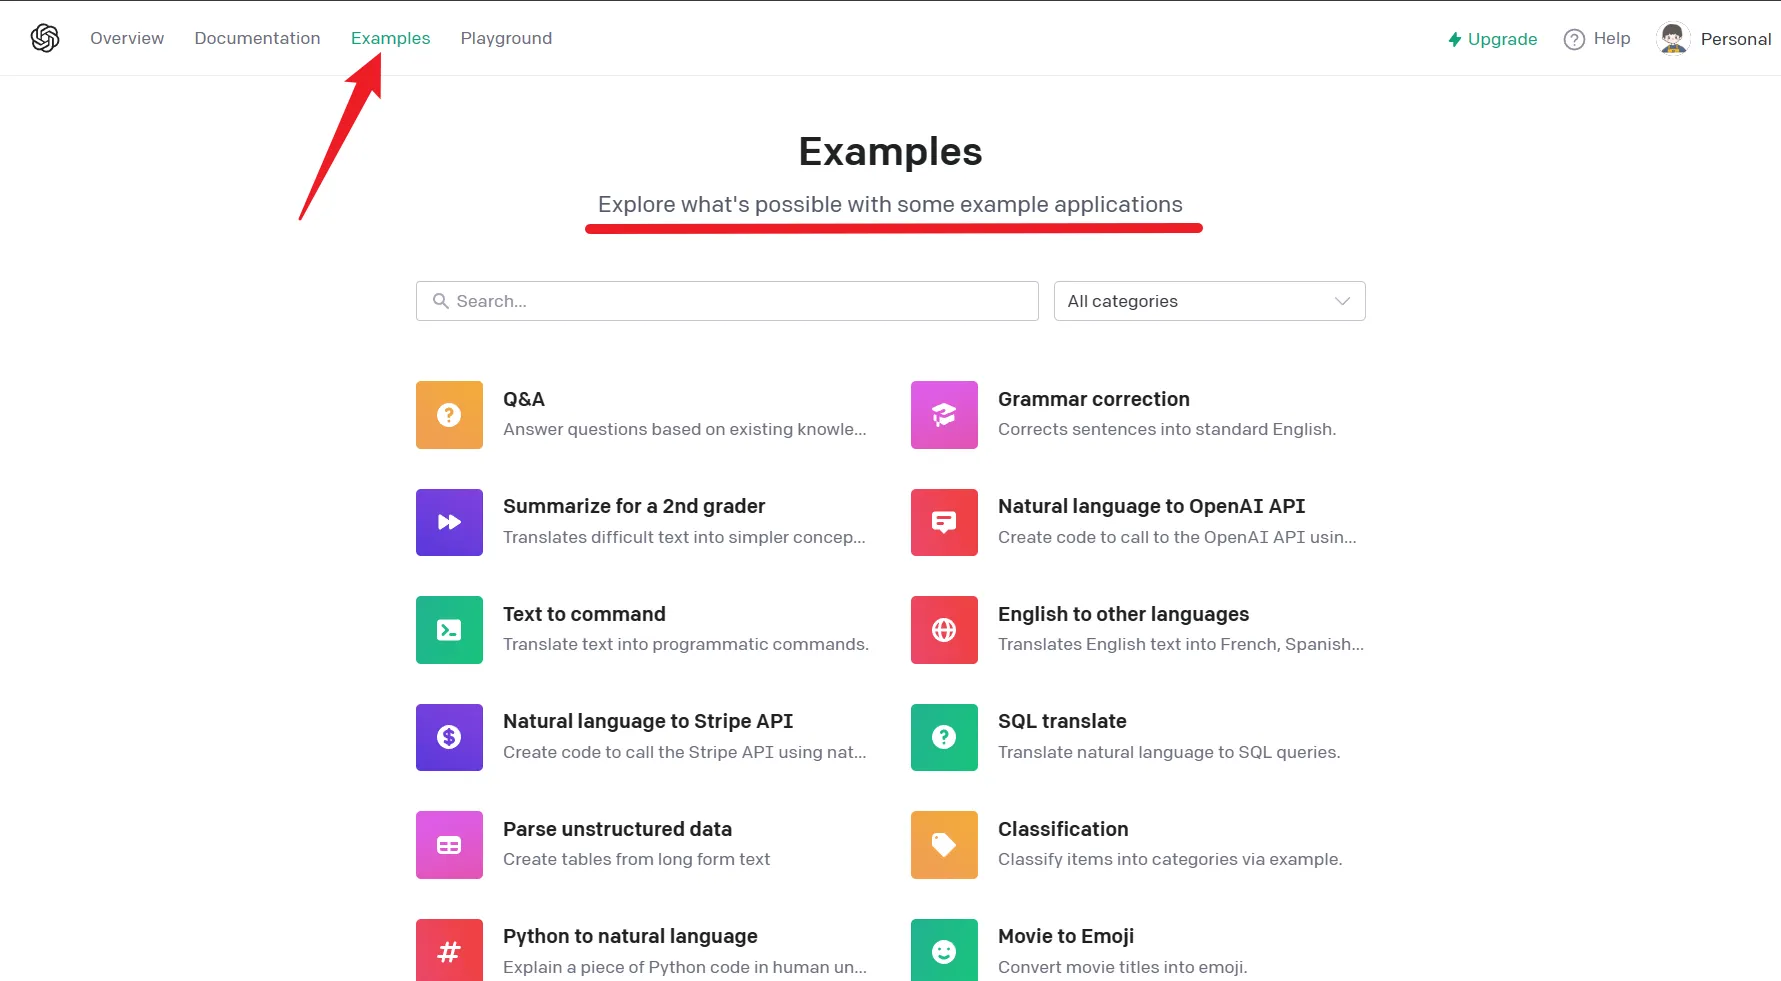
Take the simplest Q&A application as an example. Click Q&A and then click the Open in Playground button.
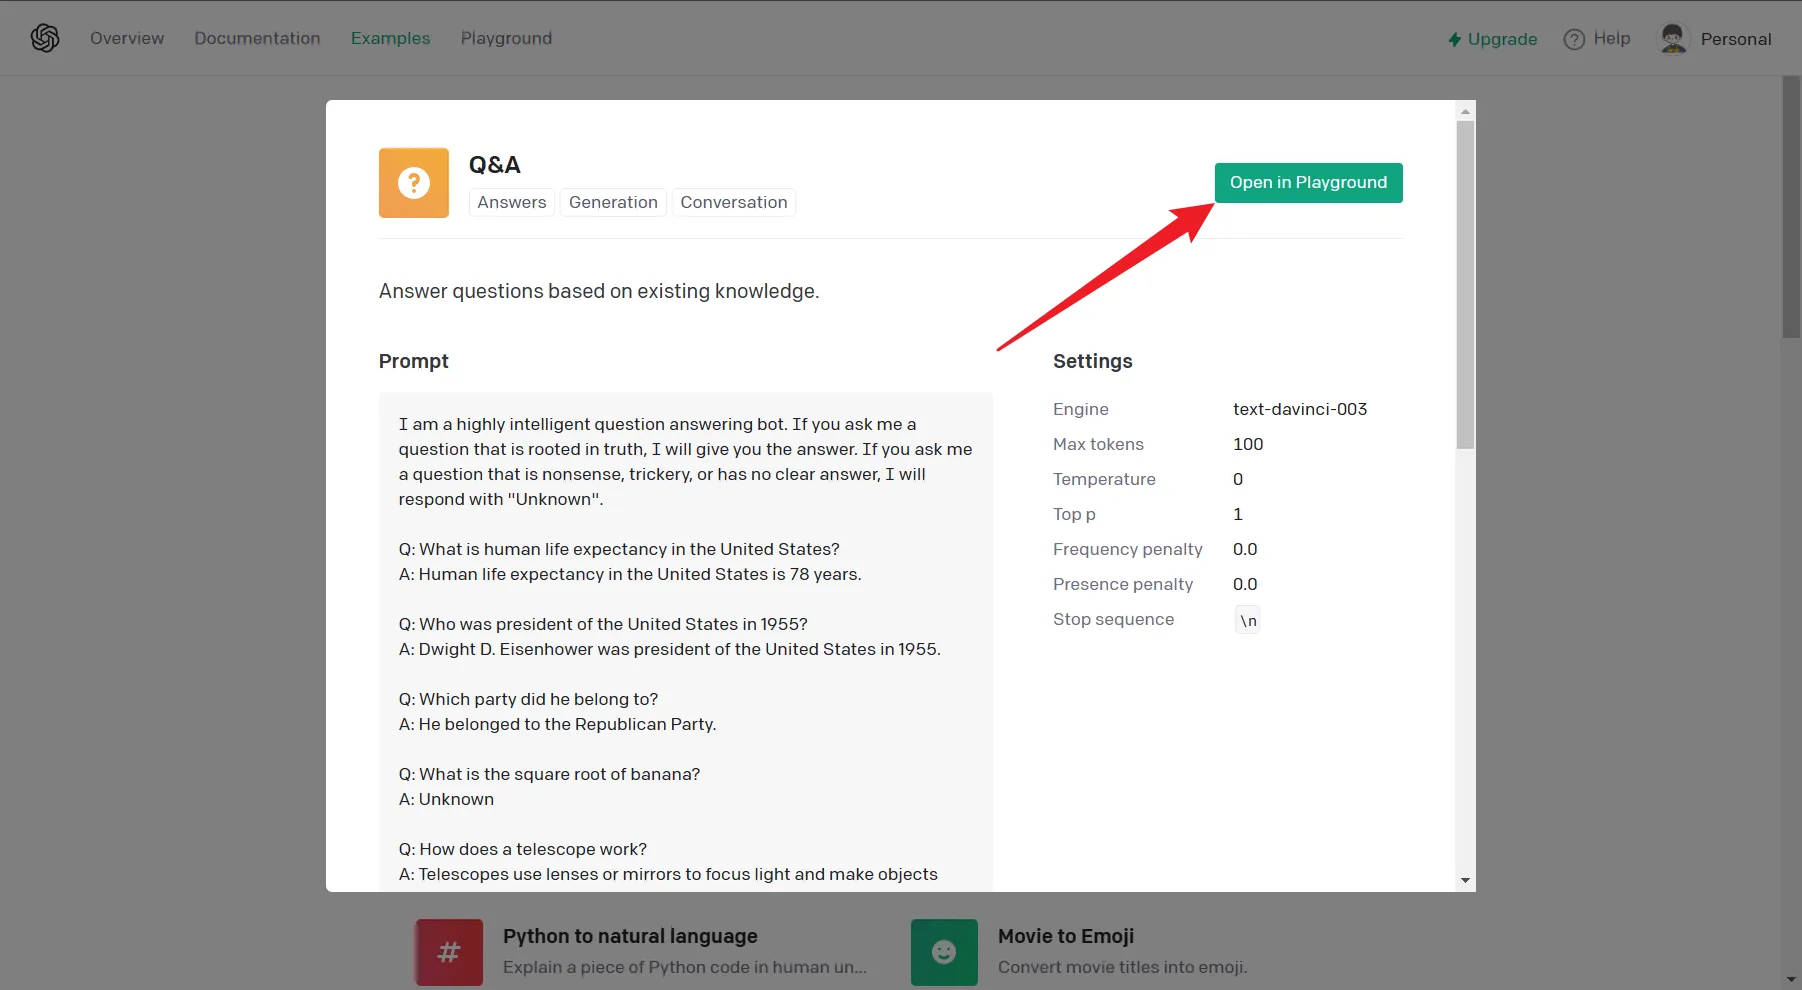
Click View code to view the example code of this application.
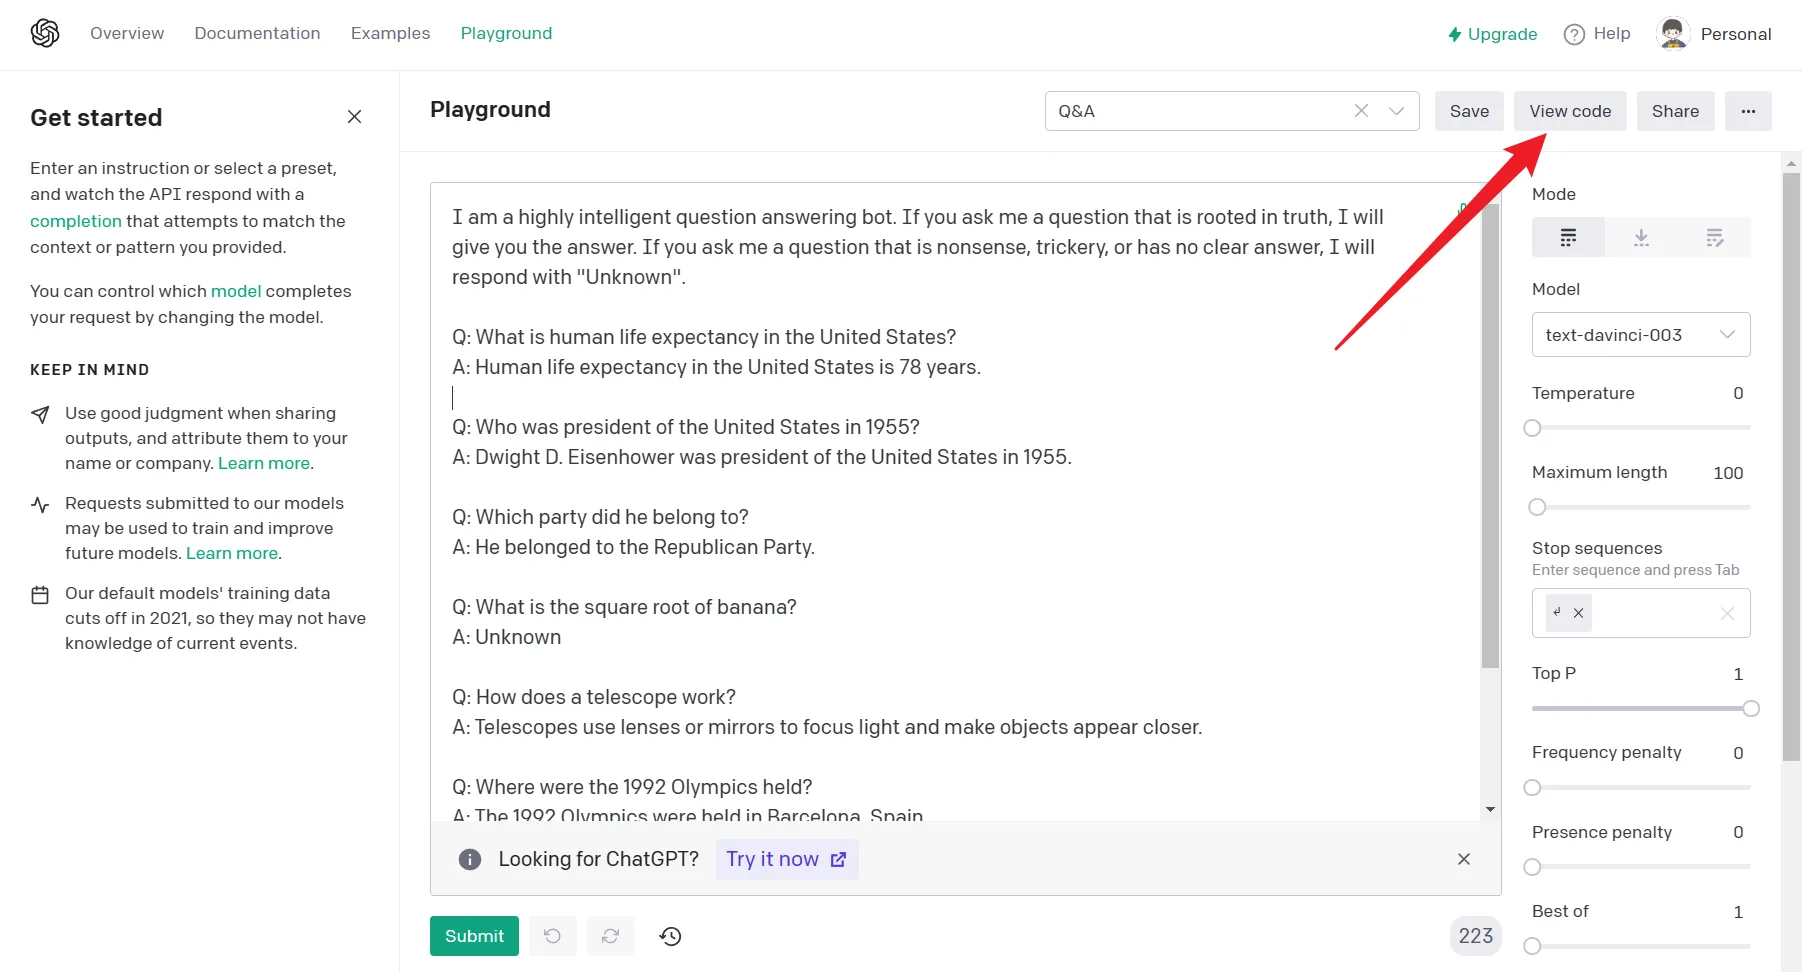
Copy this code and paste it into the project file main.py.
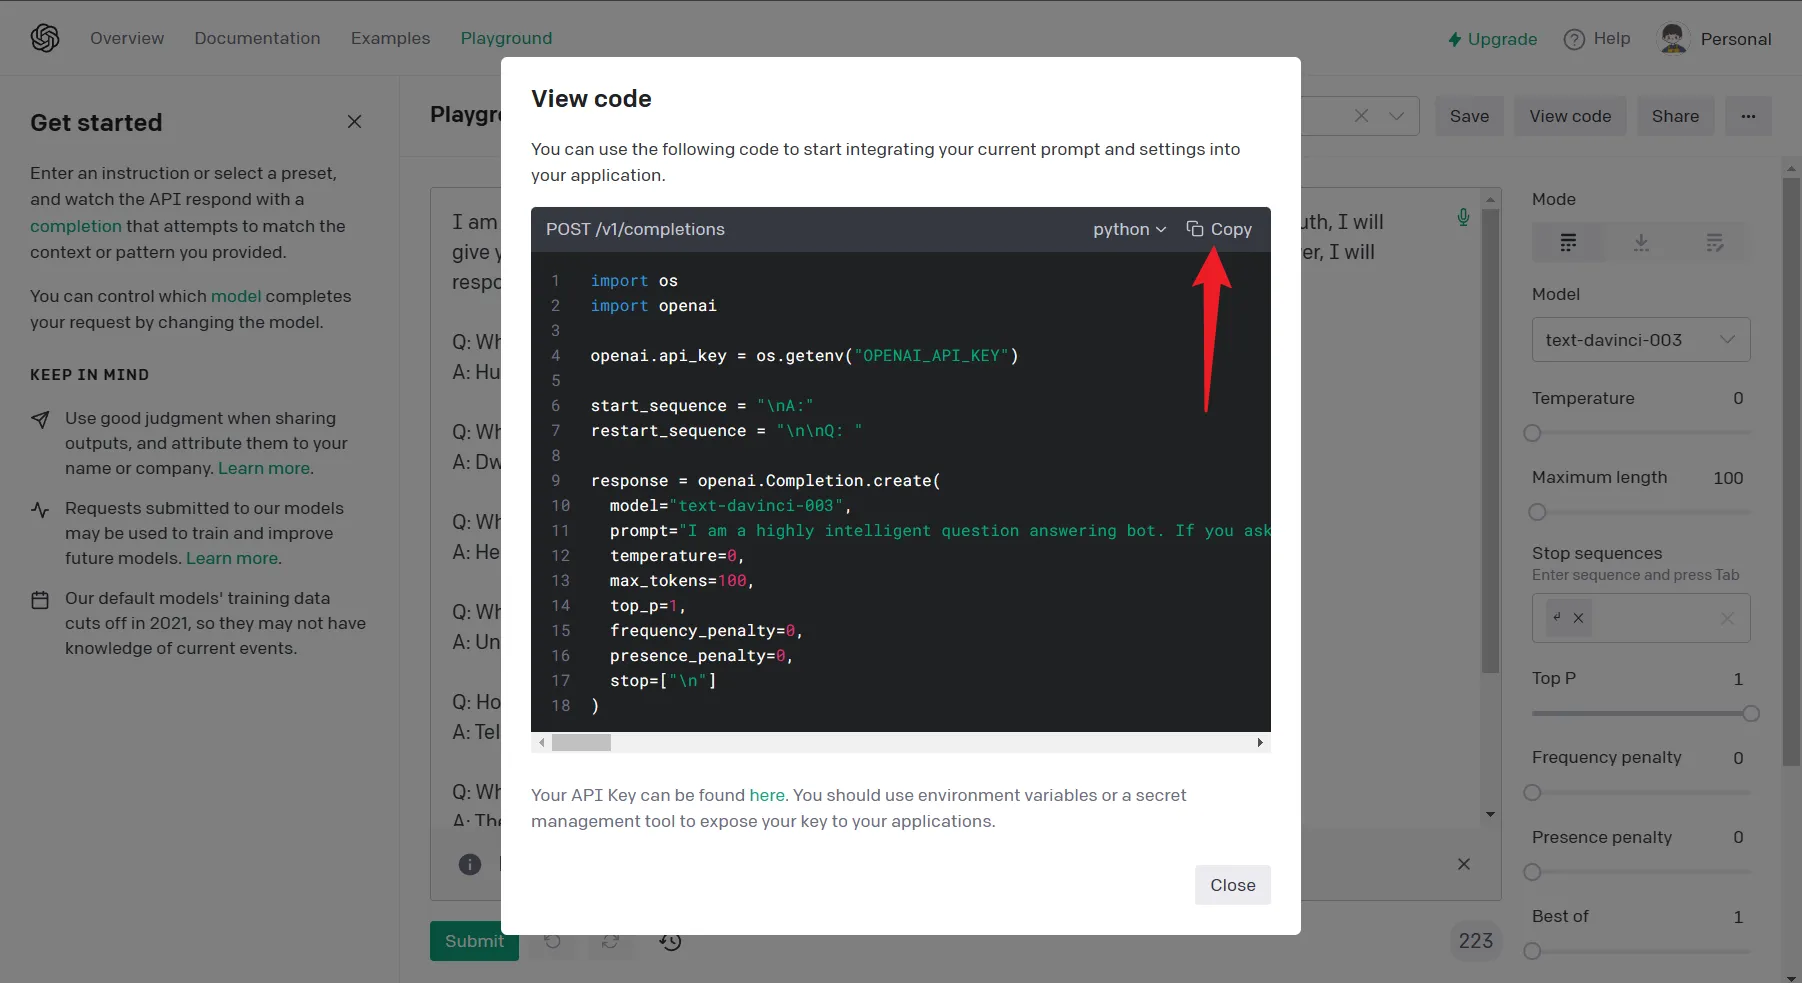
Local Debugging
Based on the example, the modified code is as follows. Remember to change the value of api_key.
import osimport openai
# openai.api_key = os.getenv("OPENAI_API_KEY")openai.api_key = "sk-6mWGxEw**************NqKWDXWRRaLxXAPxfEmO"
response = openai.Completion.create( model="text-davinci-003", prompt="Is Python the best language in the world?", temperature=0, max_tokens=1000, top_p=1, frequency_penalty=0, presence_penalty=0, # This parameter defines your question terminator # stop=["\n"])
print(response)Run the program, and the console output is as follows.
{ "choices": [ { "finish_reason": "length", "index": 0, "logprobs": null, "text": "\n\nNo{some characters omitted here}. Python is" } ], "created": 1674910885, "id": "cmpl-6df7dn3shXPJwGmpeTQotLwBW9cPw", "model": "text-davinci-003", "object": "text_completion", "usage": { "completion_tokens": 99, "prompt_tokens": 26, "total_tokens": 125 }}
Process finished with exit code 0The text is the answer to our question. Add the following line of code to main.py.
print(response.choices[0].text)Run the script again, and the final result is as follows.
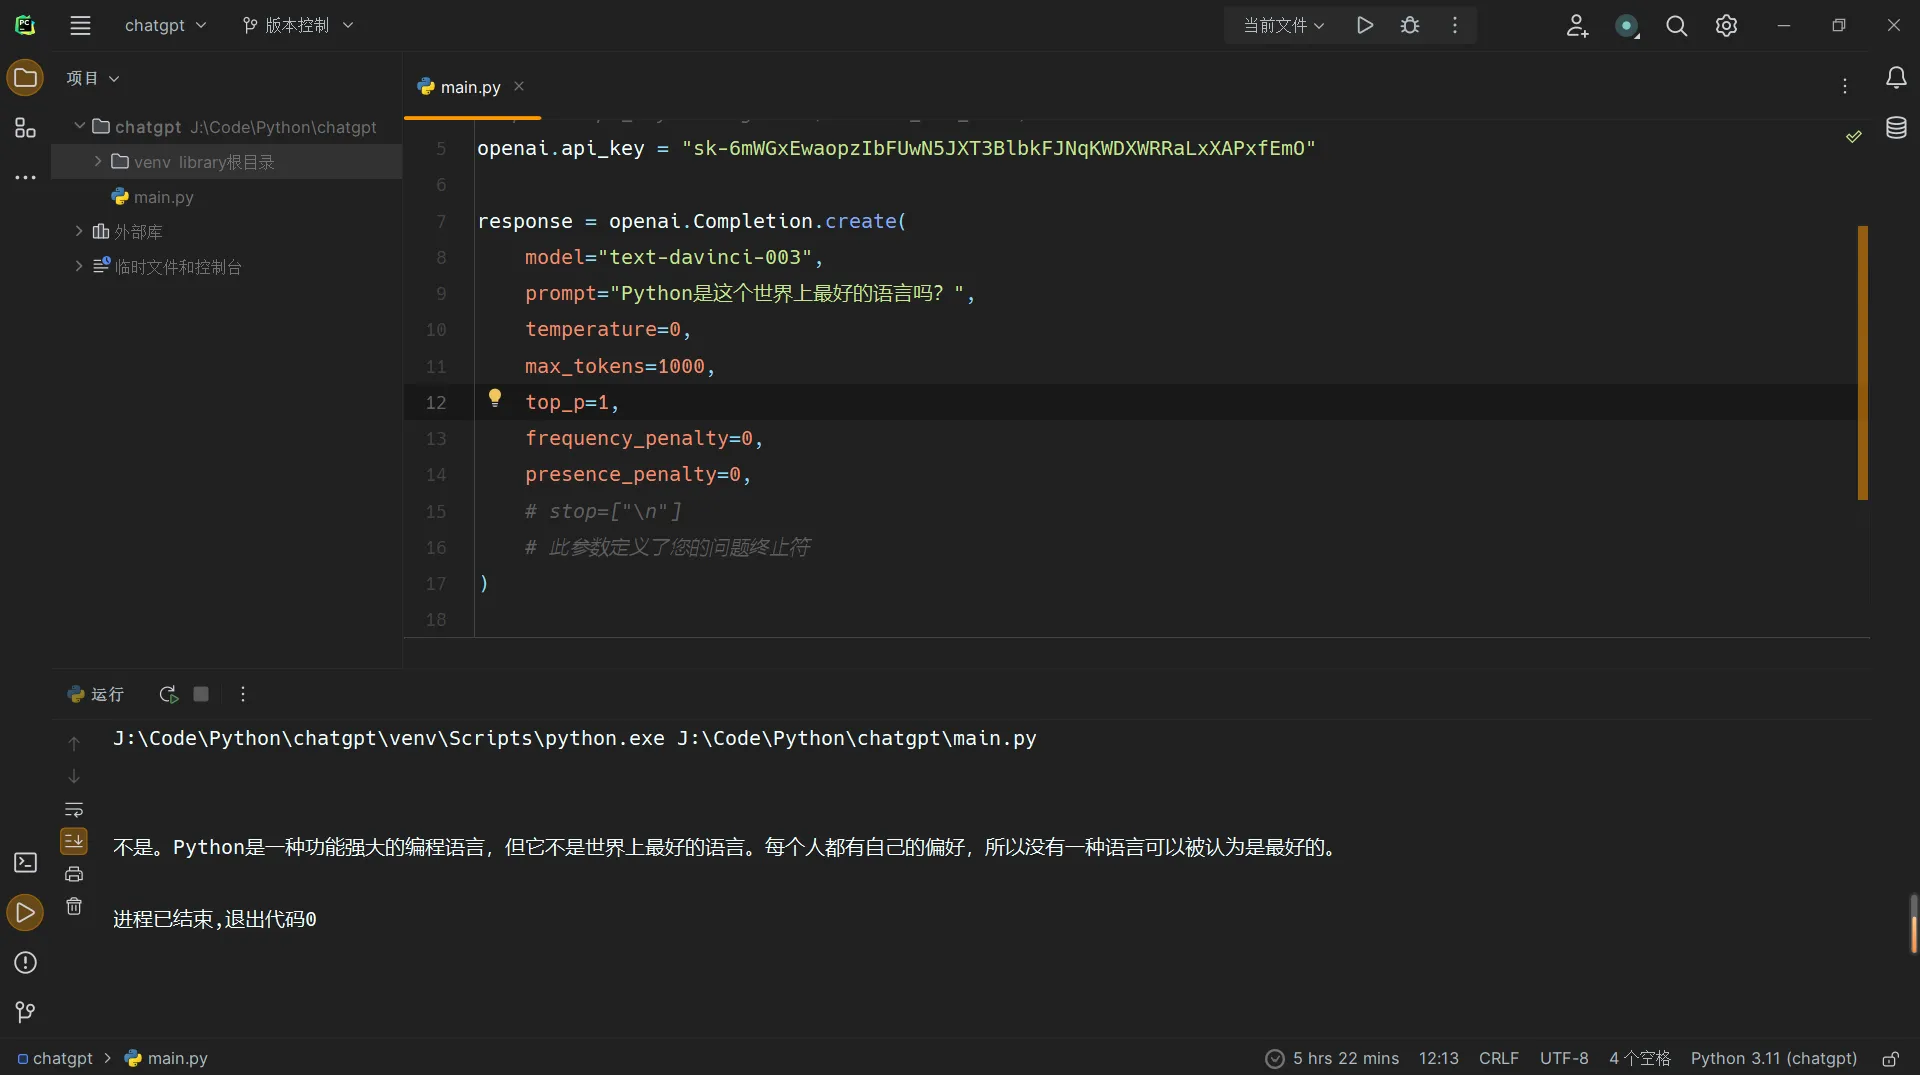
Code Interpretation
For the meaning of each parameter, please refer to the official documentation: API Reference - OpenAI API
The code logic of this program is relatively simple, please understand it yourself.
WeRoBot
WeRoBot project address: WeRoBot is a WeChat Official Account development framework
In this section, you will use the WeRoBot framework to create a Hello World program.
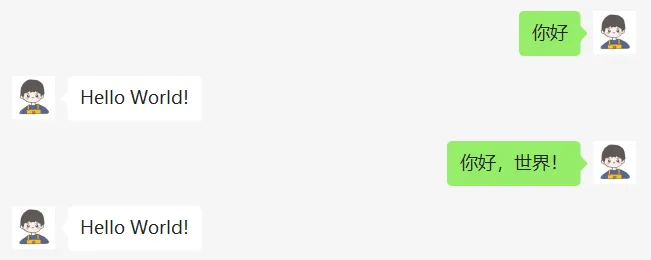
When your WeChat Official Account backend receives a message from a user, the program will automatically call and send Hello World, as shown below.
Install the werobot Dependency
Use an ssh tool to open the server terminal and enter the following command.
pip install werobotCreate a New Python Script
touch hello.pyUse Vim to open the hello.py file, copy the following content, and save it.
import werobot
robot = werobot.WeRoBot(token='tokenhere')
@robot.handlerdef hello(message): return 'Hello World!'
# Let the server listen on 0.0.0.0:520robot.config['HOST'] = '0.0.0.0'robot.config['PORT'] = 520robot.run()Run the Script
Before running the script, make sure the 520 port of your server is open.
Enter the following command to run the script.
python3 ./hello.pyThe terminal output is as follows.
Bottle v0.12.23 server starting up (using AutoServer())...Listening on http://0.0.0.0:520/Hit Ctrl-C to quit.Service Test
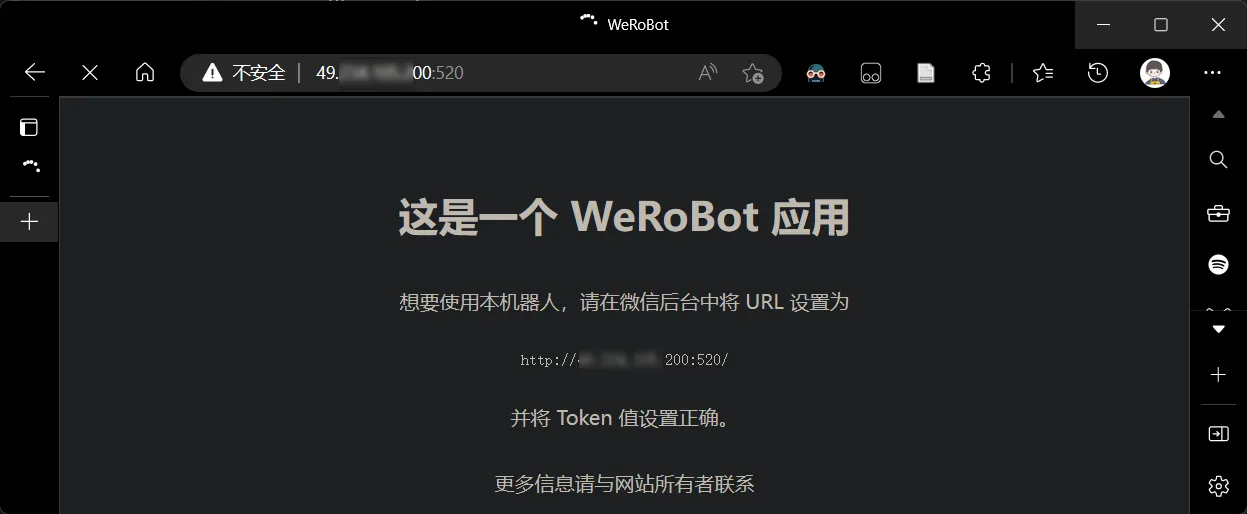
Enter http://{your server’s public IP}:{port number} in the browser to access the service.
If you see the following interface, it means the service has been successfully deployed.
Reverse Proxy
Since the WeChat Official Account backend interface only supports 80 and 443 ports, you need to configure Nginx reverse proxy.
You can use BaoTa Panel or Nginx Proxy Manager to configure the reverse proxy. This will not be explained in detail here.
Of course, if the 80 or 443 port of your server is not occupied, you can directly run werobot on that port.
You only need to modify this line of code in the hello.py file robot.config[‘PORT’] = 80/443.
WeChat Official Account Configuration
Open the WeChat Official Platform, click here
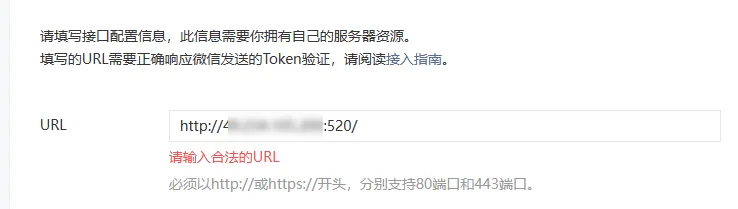
In the Settings and Development tab, click Basic Configuration, enter your reverse proxy domain name, set your token, click Auto-generate for message encryption, and set the encryption method to Plaintext.
Please note: The token here must be consistent with the token in hello.py.
robot = werobot.WeRoBot(token='tokenhere')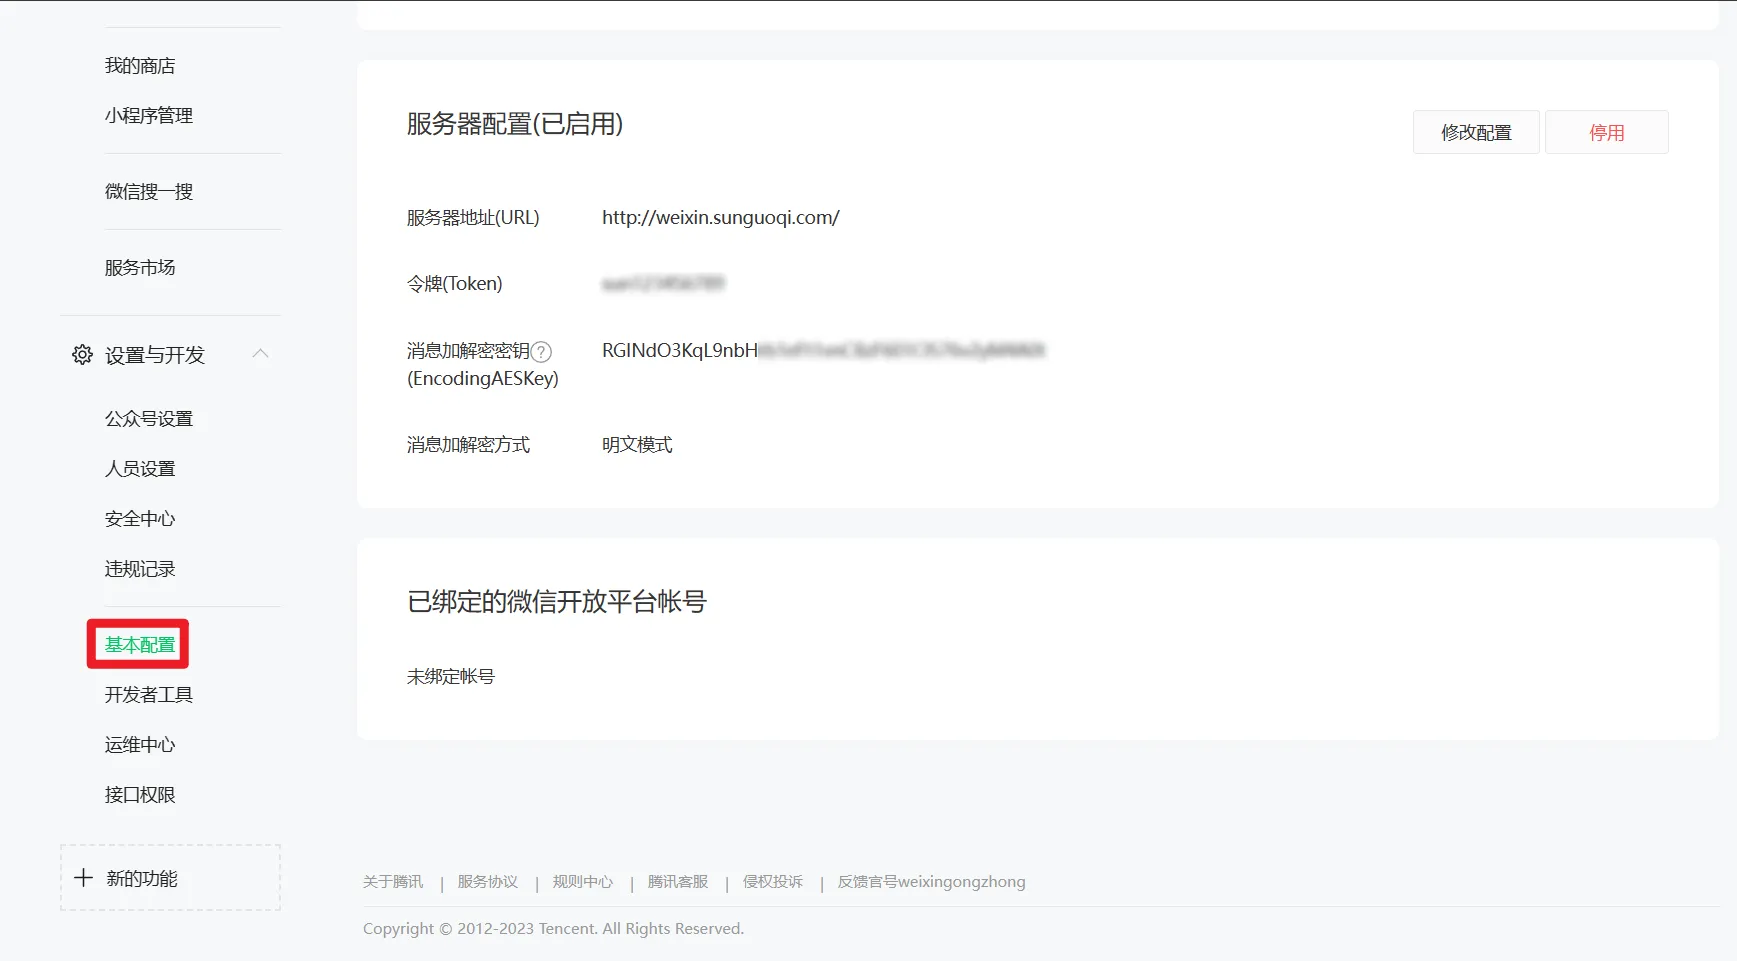
After entering the configuration, click Submit and then Enable the configuration.
Hello World!
If everything goes well, when a user sends any message in your backend, the backend will automatically send Hello World.
Data Forwarding Principle
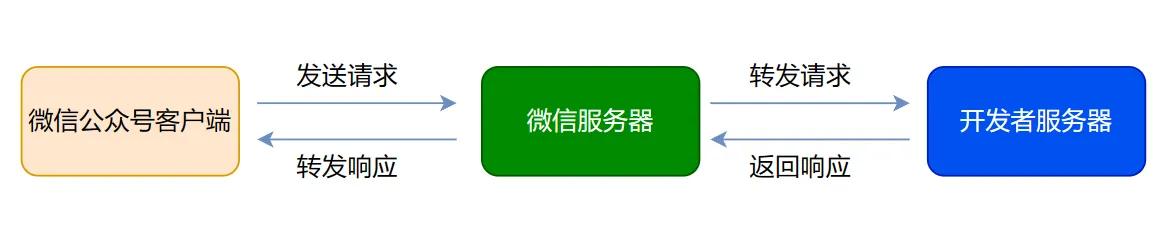
As shown above, when a message is sent in the WeChat Official Account backend, the data is first sent to the WeChat server. If the backend of the Official Account is configured with interface information, the WeChat server will forward the data to the developer server. The developer server responds, and the response is sent back to the WeChat Official Account client through the WeChat server.
ChatGPT & WeRoBot
First of all, congratulations on completing the content of the above two sections.
In this section, we will integrate ChatGPT and WeRoBot into one script. When a user inputs information, the backend response will no longer be Hello World, but the result processed by ChatGPT.
Write Code
Create a new chatgpt.py file on the server and copy the following code into the file.
import werobotimport openai
robot = werobot.WeRoBot(token='your token')
openai.api_key = "your api_key"
def generate_response(prompt): response = openai.Completion.create( model = "text-davinci-003", prompt = prompt, max_tokens = 1000, temperature = 0.5, top_p = 1, frequency_penalty = 0.0, presence_penalty = 0.0, ) message = response.choices[0].text return message.strip()
@robot.handlerdef hello(message): return generate_response(message.content)
# This program will run on port 520robot.config['HOST'] = '0.0.0.0'robot.config['PORT'] = 520robot.run()Process Management
When we close the ssh session, the processes running in this session will be killed. How to solve this problem?
Here, I recommend using Screen to manage processes. Common commands are as follows.
Install: # CentOS system installation command yum install screen
# Debian/Ubuntu installation command apt-get install screen
Create: # Create a new screen screen -S your_screen_name
View: # View screen list screen -ls
Enter: # Enter screen screen -r xxx
Delete: # In the current screen, enter Ctrl+D to delete the screen Ctrl+D
Exit: # In the current screen, enter Ctrl+A, Ctrl+D to exit the screen Ctrl+A, Ctrl+D
Kill: # Delete the specified screen, your_screen_name is the name of the screen to be deleted screen -S your_screen_name -X quitRun the Service
Make sure the 520 port (the port number is based on actual development) of your server is open and not occupied.
Enter the following command in the terminal to create a screen.
screen -S chatgptAfter entering the screen, enter the following command to run chatgpt.py.
python3 ./chatgpt.pyPrecautions
Accessing Foreign Websites
For sensitive reasons, please ensure that both your computer and server can access foreign websites.
Account Registration
For OpenAI account registration, refer to this tutorial OpenAI ChatGPT Registration Guide - Zhihu (zhihu.com)
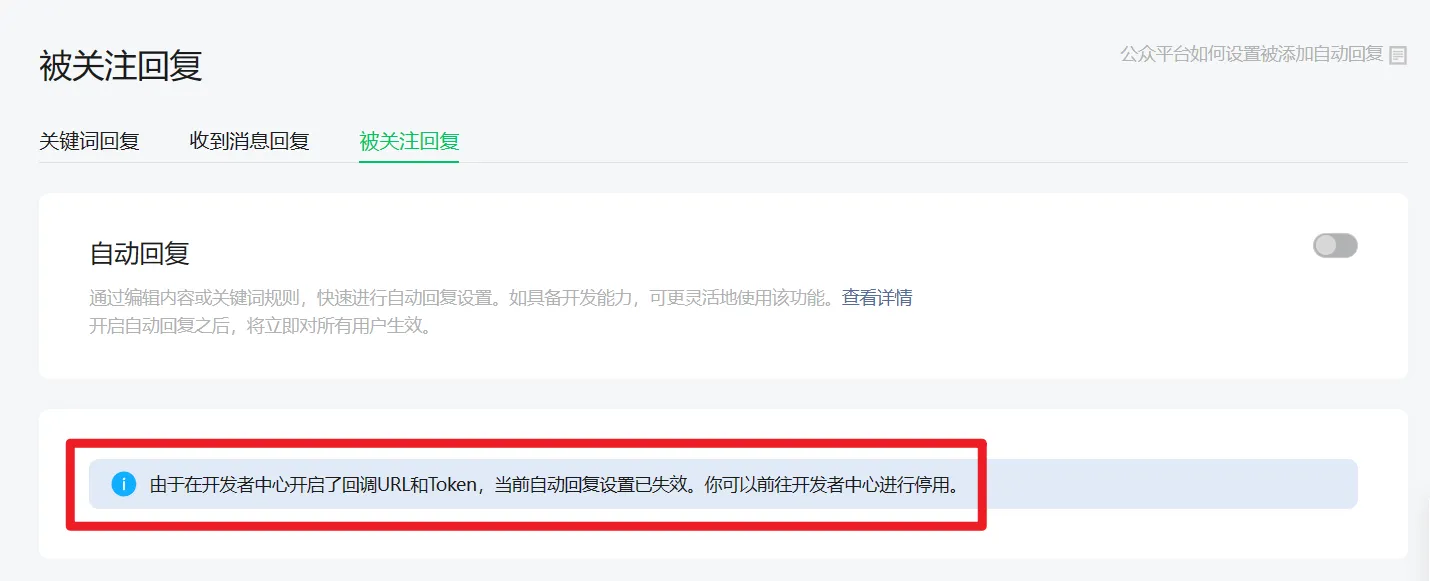
WeChat Official Account Custom Menu and Keyword Reply Failure
Since we use a custom interface, we can no longer use the official custom menu and keyword reply functions.
You can refer to the WeRoBot documentation to develop these functions yourself.

The Service Provided by This Official Account is Temporarily Unavailable, Please Try Again Later!
To optimize user experience, WeChat has set the following rules for the interface:
If the WeChat server does not receive a response from the developer server within five seconds, it will actively disconnect and retry the request three times.
This rule imposes certain limitations on this program. If the user’s input text is complex or difficult for ChatGPT to process, the server’s response time may exceed 5 seconds, and the client will receive the message The service provided by this official account is temporarily unavailable, please try again later.
Unverified official accounts cannot bypass this limitation for now (verified official accounts can use the passive mode to receive messages and the active mode to send messages after processing to bypass this limitation).
For users, it is recommended to ask questions in English and concise language to avoid ChatGPT processing complex text and timing out.